877-412-3667 9AM - 3PM CST
ORDERS OVER $200 SHIP FREE - CONTINENTAL US ONLY
877-412-3667 9AM - 3PM CST
ORDERS OVER $200 SHIP FREE - CONTINENTAL US ONLY
Automatic doors are a convenient and practical solution for many businesses and public buildings. They provide easy access for customers and visitors, and can also improve accessibility for those with disabilities. However, like any mechanical system, automatic doors can experience wear and tear over time, and components like sensors may need to be replaced. In this article, we will walk you through the steps to replace a broken sensor on an automatic door.
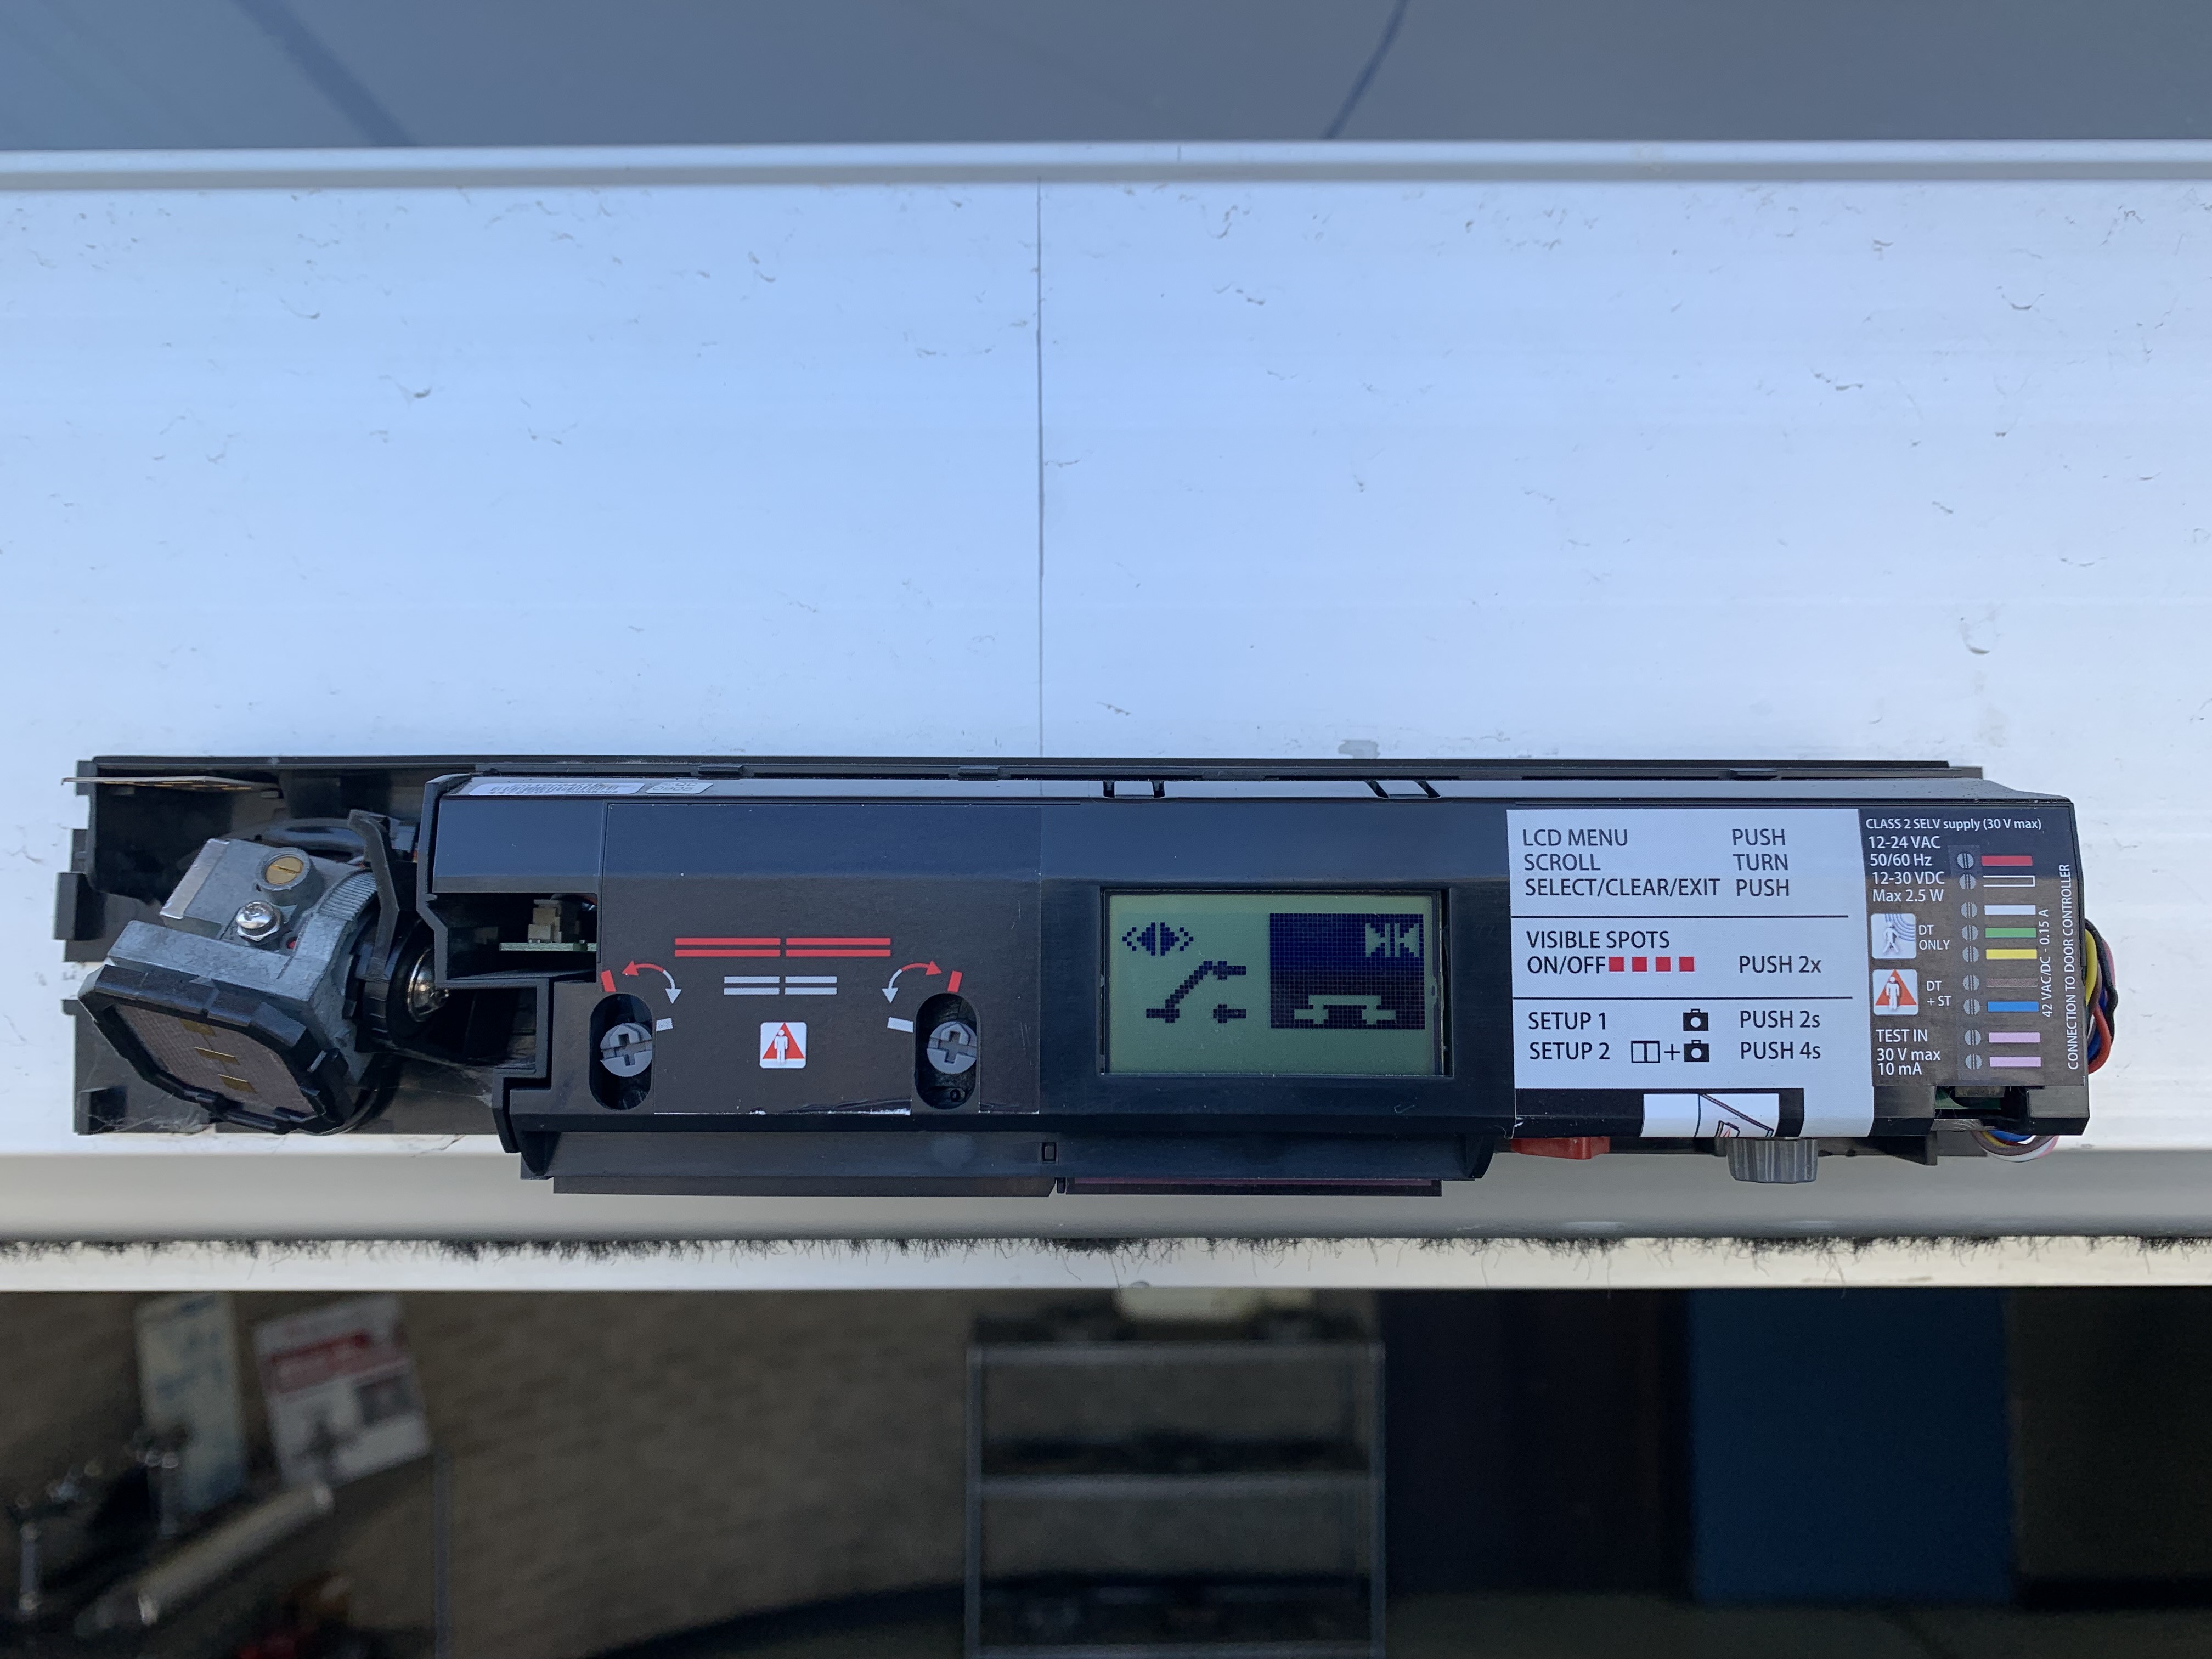
The first step in replacing a broken sensor on an automatic door is to identify the type of sensor that needs to be replaced. There are several types of sensors used in automatic doors, including motion sensors, infrared sensors, and pressure sensors. Each type of sensor has its own method of operation and installation, so it's important to know what type of sensor you're working with before proceeding.
Once you have identified the type of sensor you need, you can order a replacement sensor. At Automatic Door and Hardware, we offer a wide range of replacement parts for automatic doors, including sensors from top manufacturers. Make sure you have the correct model number and specifications for your sensor to ensure a proper fit.
Before beginning any work on the automatic door, it's important to turn off power to the system. This can typically be done by turning off the circuit breaker that powers the door or by unplugging the door from its power source. This will help prevent any accidental activation of the door while you are working on it.
Once power to the door is turned off, you can begin to remove the old sensor. The method for removing the sensor will depend on the type of sensor and how it is attached to the door. In general, you will need to remove any screws or mounting brackets that are holding the sensor in place, and then gently disconnect the wiring from the sensor. Be sure to keep track of any screws or brackets you remove so you can easily reattach the new sensor.
With the old sensor removed, you can now install the new sensor. Follow the instructions provided with the replacement sensor to ensure proper installation. In general, you will need to attach any mounting brackets or screws to the door, and then connect the wiring to the new sensor. Be sure to test the sensor before completing the installation to ensure it is working properly.
Once the new sensor is installed and tested, you can restore power to the automatic door. Test the door to ensure that the sensor is working properly and that the door is operating correctly. If everything is working as expected, you can consider the repair complete.
In conclusion, replacing a broken sensor on an automatic door is a task that can be completed by following these simple steps. Start by identifying the type of sensor and the specific problem it is facing. Then, remove the old sensor and replace it with a new one of the same type. Finally, test the new sensor to ensure that it is functioning properly. It is important to follow safety procedures and manufacturer guidelines throughout the process to avoid any accidents or further damage to the door. By properly maintaining and replacing sensors on automatic doors, you can ensure the safety and efficiency of the door for all who use it. As a leading manufacturer of automatic doors and replacement parts, Automatic Door and Hardware is committed to providing quality products and information to help our customers maintain and repair their automatic doors.
Automatic doors, automatic door replacement parts, and sensors are available at www.autodoorandhardware.com.


Email [email protected] or call 877-412-3667 with the product you are interested in, the quantity, and any other requirements you may have. One of our specialists will email you back a free quotation shortly. Did you know we offer free design help? If you are unsure of the product you need, but know the scope of what function or application you need, our design team can help! Contact us with your inquiry today.
